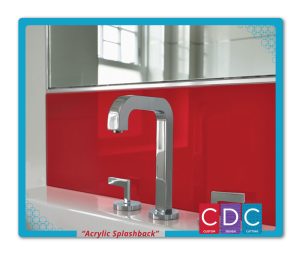
Acrylic splashbacks are cheaper alternative to tiles and glass, and have a similar look to the latter. Acrylic sheets can be cut to specification, and wherever possible, a single sheet is normally used to create a splashback. Acrylic is a generic name for rigid plastics made from a substance called ‘polymathic methacrylate’. This material has the greatest transparency of any material (even more than glass) and will allow UV to pass right through it, meaning that it won’t yellow over time.
Acrylic is strong, lightweight and very easy to work with. Clear acrylic can be painted to change the colour of the light it lets through, creating dazzling effects at different times of the day if it is properly positioned. Acrylic glass also allows 92% of visible light to pass through it. Unlike thick glass which has a green tint, acrylic is completely clear.
If you are installing an acrylic splashback, the most basic way to achieve a certain colour is to paint the wall behind a clear acrylic in the colour of your choice. Acrylic splashback products do however come in various colours, and you may find that a coloured acrylic provides a more solid look.
Some advantages to using acrylic for splashbacks:
- Half the weight of glass for self-installation
- Cost Effective
Installation requirements
One of the downfalls of acrylic is that because they are effectively plastic, most acrylics don’t stand up too well to heat. For this reason they cannot be installed directly behind kitchen cooktops without some other form of compensation. A way you can work around this is to install your acrylic splashback up to 300mm away from a naked flame or 150mm from a heat source. Using a piece of stainless steel at the back of the stove top area is a safer option which will also match in with all your stainless appliances.
Your builder should be able to advise on how you’re able to install the acrylic splashback – as well as on any specific conditions for warranties.

